Monday, June 07, 2021

Finally a Trinket Box

 Way back in 2012, I received my first Cabinet of Curiosities course kit and blogged about it. I have since purchased a flat top casket and done the Stumpwork course, and collected all sort of other supplies along the way.

After 9 years, I've finally got a Trinket Box! And I had so much fun making it.

The top has the enamel from a Halcyon Days box celebrating Jane Austen in Bath. The box broke and somebody was selling just the top, so my husband picked it up on eBay for me. (I have an enamel box collection) As I was thinking about what to do, and figuring out how to mount the enamel, I realized the purl purl would be able to hold the it. So I adjusted the suggested box top to fit.

The front is the grotto from the instructions (which I've had practice with while doing the mermaid).

The other long side has the theme of the top. I designed Chawton Cottage.

The ends used motifs from the CoC motif files.


It took me a day to do the finishing - although I was working on 2 boxes for part of it, so I could test different ideas. I need edging ribbon for the other before I can share it. It was fairly straight forward once I got going. And I can see how the techniques can be used for other projects, especially gluing the wove paper to the back of the embroidery before cutting it out and working with it. I'm glad I've made up the box before starting the casket designs and stitching, because it gives me a much better idea of how things will change size and how much extra space there really is to fill on a panel.

Saturday, June 05, 2021

Moving Right Along with UFOs


My EGA chapter UFO challenge has been great. There are still times when I pick an easier to see project, or a more portable sized project, but for the most part, devoting myself to a project for a month has been good. So far, I've been finishing things, which is very gratifying, but the next round of projects won't be so easy, since there is a lot left, or I'll be staring something new.

In any case, I'm very happy with the Lorna Bateman Acorns and Berries pincushion I finished.


And the Trish Burr field mouse


One of my longer term, low light or watching TV projects is this needlepoint pillow. I've been working on it at my desk while watching webinars or during meetings. The canvas is very well coloured, so it is generally easy to work, and there is a chart for any place where I'm not sure, or I've forgotten what I'm doing because I've stopped to take notes.

It is a kit from Elizabeth Bradley, part of a series of Chelsea Flower Show kits.

I do have another finish of sorts. I finished the final panel on a stretcher that has 6 other sides for Thistle Threads trinket boxes. So I'm ready to actually cover 2 trinket boxes. I shall start tomorrow!

Sunday, April 25, 2021

How do you decide what to do with your embroidery?

 Working from home gives me the chance to pick up embroidery to stitch while I listen to a webinar or a meeting, rather than doodling, or trying to multitask which means I neither get the most out of the meeting, nor do the best job on the task. So I've been getting lots of pieces done, which means framing, which means putting them somewhere.

Case in point, when I finished Becky Hogg's Foxy a few weeks ago, I still had the hedgehog and sleeping fox from Helioblue waiting to be put up. And my Japanese bridge and waterlilies. So, my husband and daughter helped me - they have a much better eye for arrangement and I can't draw a straight line with a ruler, so things are always crooked. And we ended up with this.


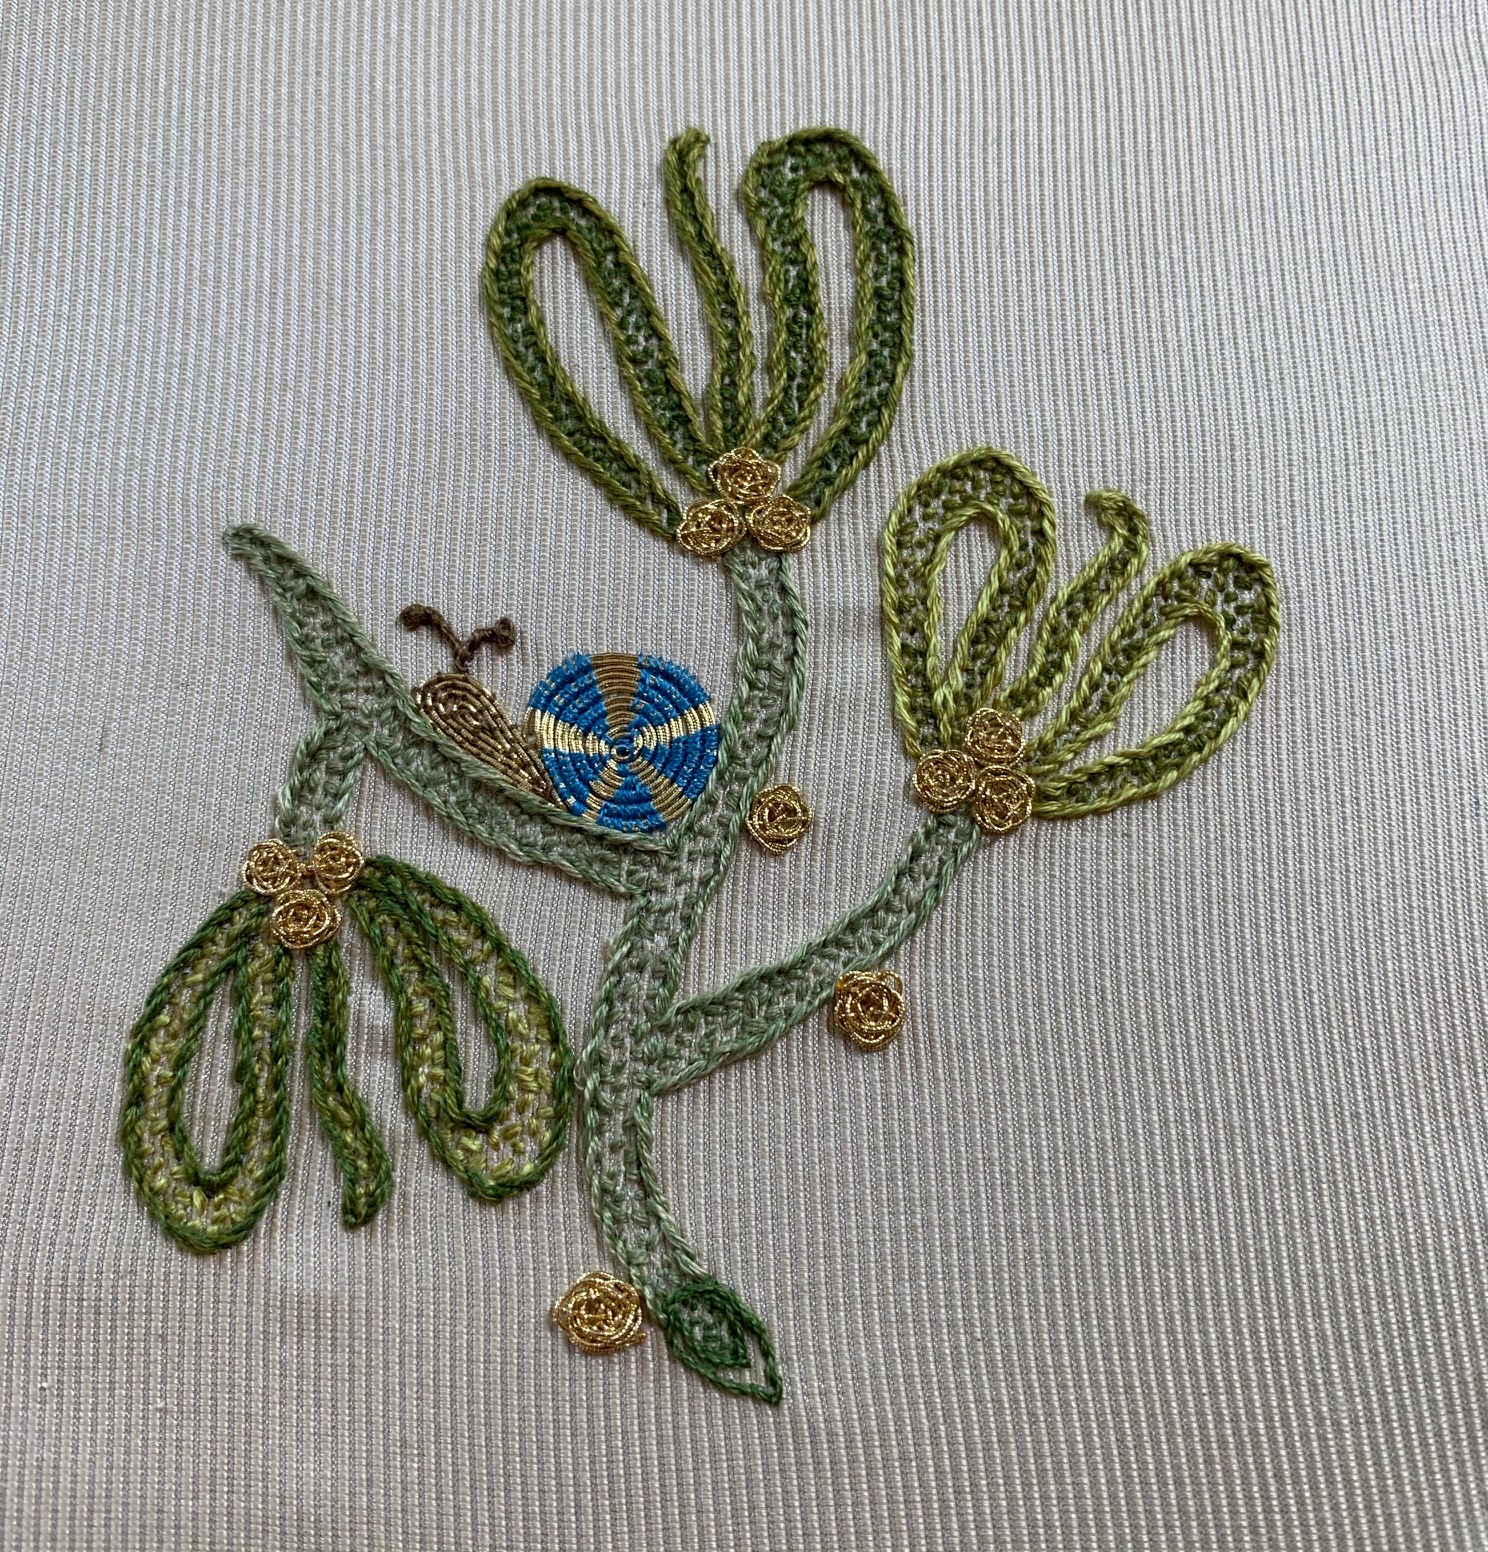
The blue x is where I've left a space for the Helioblue badger when it comes out. The thing is, the wall opposite this is filled with samplers, and the side walls have a window, and a cupboard and door, so there isn't much more wall space. I still have stuff I'm working, in fact, last weekend I finished this daffodil from the RSN, based on the Bacton Alter cloth that was made out of a dress belonging to Elizabeth I (kits here https://royal-needlework.org.uk/product/the-lost-dress-of-elizabeth-i-embroidery-kits/

And I finished stitching the mistletoe a while ago. Not only do I have to find a place to put these two, I had to find a hoop or frame that looked good, and now I have to find a spot on the wall!


Plus, there are two other Bacton Altar Cloth kits, which were out of stock when these two were ordered, so I'll want those eventually. 

In the past, I've gone on gift giving stints so I don't have to worry about where to put things. I've made pillows, but there is a limit to the number of pillows one needs, although they do wear out eventually. I've made pin cushions and scissor fobs, and while I've discovered I can use more than I thought possible (one for each project I'm working on), I still can only make so many. I've made tons of lavender sachets for myself and as gifts. 

I do have some trinket boxes and a casket to cover, but I need a few less demanding projects to work on while I watch TV or have a few minutes to wait. 

My husband doesn't think he'll have a problem fitting more in, and he may be right since he has a huge number of photos, artwork, and space memorabilia on his office walls. Or maybe I'll use my librarian skills and weed a few things out. Only time will tell. 


Wednesday, March 31, 2021

3 Finishes!

The two pieces I started a week and a half ago are finished. The Relics in Situ butterfly looks wonderful. But I'm not sure my eyes can take the 1" actual size piece. I also need to figure out what to do with the motifs; ornament, needlebook, scissor fob? And Foxy from Becky Hogg Embroidery is done! I really love all the types of metalwork in the piece. It really shows what you can do with the technique.


I've also finished my Monet inspired Japanese bridge and waterlily piece. I've spent a lot of time just looking at this, thinking about how to give a painterly feel to the piece, then when my daughter mentioned that it wasn't supposed to be an exact replica of a painting, I started to relax. But, I did want to have the fullness of the painting, so I had to add lots of leaves to fill the blue space above the bridge, and lots of waves for the water. I even shaded the ribbon lily pads, and added some ribbon water lilies to give the lush feeling of the paintings.

I stopped at this point to spend some more time thinking, and decided that some branches amongst the background leaves would help, and more tiny wavelets.
And here is the final. It looks neat with the light behind it, but that is out of my skill range as a framer.

So here it is in the frame. It is a shadow box frame, so it helps with the depth of the piece when you see it IRL.

So now I need to rearrange all the pieces on my wall. I have a Helioblue sleeping fox and hedgehog to put up (with space for the badger that should be coming soon, I hope). And now Foxy to go with the Kingfisher and fritillaria from Becky Hogg Embroidery. And a hummingbird sampler from OwlForest to go with the hedgehog sampler. And several other WIPs. I may need to start making boxes and sewing accessories since I won't have wall space!


Saturday, March 27, 2021

Butterfly and Foxy starts

 Last weekend I really indulged myself in embroidery, which was good because my work week was busier than expected. I've still got a few things to finish, but I had such fun learning about caps & coifs from Relics in Situ, I wanted to mention them again and show the lovely butterfly I've started. They have so many photos of such wonderful pieces from many collections, it really is inspirational. And their background research on stitching is so interesting. There is a lecture coming up Elizabethan Embroidery: Gloriana's Gifts and the Power of the Needle so you might want to sign up for their newsletter to be notified of the date. 

What was interesting about the two caps and coifs motifs to stitch, a butterfly and a bird, is that they were in two sizes, 1" and 2" high. The 1" is the actual size on the coif, the 2" is more the size of the flowers on the coif. I started the 2" butterfly but I look forward to the smaller one. I only did a bit because I had to get on to Foxy.


Foxy is a kit from Becky Hogg. I've already done her Kingfisher and Fritillary, which I love, and I needed a third to make a picturesque grouping (that's my excuse, you are welcome to use it anytime). So here was where I left Foxy on Sunday night. 


Every goldwork/metalwork piece I try gives me a bit more confidence with the techniques, but I suspect I will never get really good at it until I stop worrying about wasting metal threads and play around a bit. I've gradually let myself play with silk threads, but metal threads are more expensive. 

Saturday, March 13, 2021

Fun with Buttons

 My DH gave me a gift of an online course with Chrissie Juno Mann, that also included a tour of Chawton Cottage with a focus on the needlework. I am now considering how to find very fine muslin to make a shawl like Jane Austen made. Despite having to get up early enough to start at 7 am (3 pm GMT), I thoroughly enjoyed the class. Chrissie is lovely, and an excellent and patient teacher, and all the ladies attending were very nice. 

The kits contained excellent linen that was easy to work on. Bullion stitch puts quite a bit of strain on fabric, and a bullion rose even more so, but it was fine. I ended up pulling a couple of colours from my stash. Chrissie mentioned doing a variegated rose by changing threads, but I decided to be lazy and just use variegated thread! And as I was looking, I saw some nice blue perlé thread and couldn't resist making forget-me-nots (knots?). I like the trellis stitch background but I think I might tack things down with a contrasting colour next time.


And here is the rose and forget-me-nots done up as a button.

I tried something a bit different for the second button. Using perlé for the rose rather than stranded floss. I really like this look too. And I'm very happy with the buds.

When both buttons were done, I cut down the plastic shanks a bit with my heavy duty Kevlar strength scissor, then put in some thick felt, and stitched the two buttons together with herringbone stitch like I do with ornaments.
The one nice thing about a quick project like this is that it rejuvenates you for the longer projects, so I'll get back to my waterlilies tomorrow.

Next week I've got another online class. "Caps & Coifs: Exploring Embroidered Headwear in the Tudor and Jacobean Periods" with Relics in Situ. I've attended several of their lectures, and one other with an embroidery project, so I know it will be fun.  


Saturday, March 06, 2021

Stitching Monet's Waterlilies and Japanese Bridge

 Back in 2016, the Gentle Pursuits of Richmond EGA chapter president, I think it was Catherine Jordan, gave us a 5x7 challenge for the year, 5 stitch and 7 threads in a 5" x 7" size. I had a lot going on that year, so I never finished the design, but I really liked it, so I've kept it around since then.

This was as far as I got in 2016. It is hard to take a photo showing the actual colour of the silk, especially because it is shot silk. I had done a few things on silk at the time, but I'd mostly worked on linen, so working on silk like this was a new experience. 

This year, my current chapter, Muchas Manos de San Diego, is having a WIP challenge, so I pulled this piece out as one of my 5 to work on. Each month, a number is pulled and members work on that piece for the month. So for February-March, I'm working on this piece.

I started by adding a muslin backing - I've learned so much since then and have found a backing to be very helpful. This piece really needs depth so after finishing the final background tree, I padded the bridge to bring it forward.

I added more plants to the water's edge behind the bridge before finally starting the bridge, covering the felt in two colours of ribbon. 

The bridge is a bright colour because that's how it looks in the photos. Most of the paintings don't show the trellis for wisteria that you see in photos of this bridge, and since I wasn't trying to recreate a specific painting, and I love wisteria, I used purl purl for a trellis, and then I used silk serpentine gimp for the vine. I didn't even tack it down, just wound it around the trellis frame.

I used messy bullions for the leaves and flowers, Soie Perlee for the leaves, and various stranded silk and cotton for the flowers.

Back to some ribbon work for the water lily pads. darker, thinner ribbon in the back, brighter, wider ribbon in front.

After much thought on the flowers and viewing of photos and paintings, I decided I needed a few stumpwork flowers. Since they are tiny, I made them in two pieces, which I'll pull together at the sides.

I think they'll look quite nice. I'm holding off putting them in, because I need to think about how to add a few more waterlily flowers so they aren't flat and add some further colour to the water so it isn't stark blue. I may start with adding the rest of the water's edge plants so I have a better sense of all the colours that will be next to the water. 

Any and all suggestions are welcome. 

Wednesday, March 03, 2021

Long Time, No See

 Ever since reading about mini black holes that appear all around us, I've been convinced that I'm sensitive to them and that is why I have such a poor sense of time. Although writing it down like this does make it seem rather silly. Anyway, whatever the reason, I had no idea how long it has been since I posted about my embroidery - 7 years! It's not that I'm not doing anything, in fact, I've done quite a bit. It's just that once I was back at full-time work, I just didn't have the time for long blog posts. And I've found Instagram to be a great place to share things. But now, as I'm getting back to working on my own designs, and moving towards finally working on my casket, I find I need a longer form to write about my stitching.

So to start with, some eye candy to show I've been busy, and then on the weekend, a post about a Monet inspired piece I started in 2016 and I'm finally finishing.

I started this Jane Nicholas piece at EGA National Seminar in Alexandria, VA in 2016. Finally finished in 2020.


This was a Relics in Situ course piece. Lots of fun. On silk!


These next two are Owl Forest Embroidery - Hedgehogs and Hummingbirds. I love both.


Becky Hogg goldwork fritillaria and kingfisher - and I have her fox on my shelf!


And these are RSN online courses. The Goldwork is by Becky Hogg, and since I took the online course first, I was really comfortable working with the kits.

The RSN silk shading was taught by Kate Barlow was great, and my shading for the Jane Nicholas piece above improved after taking this course.

This RSN course Introduction to Jacobean Crewelwork, was taught by Deborah Wilding. I loved it and have since done more!


Sunday, May 11, 2014

Finishing the Wedding Jacket for Pocahontas

I just realized that I haven't posted about the finish of the blackwork jacket that was made for the wedding of Pocahontas in Jamestown. The stitchers were invited to the Costume Design Center in Colonial Williamsburg for the final fitting, but we couldn't post any photos until after the 'wedding'.
 
Here is Brenda Rosseau, supervisor of Research and Design at Colonial Williamsburg's costume center, is fitting the arms on the body of the jacket, which is being worn by Wendy Taylor, the Pamunkey woman who played the part of Pocahontas.  
 
Isn't it amazing to see it all together?!
Here is just a small group of the women who stitched on the jacket.  Many are local and came often during the week. A few are from further away and came just for weekends or a week's vacation.  All in all, it is quite amazing that so many dedicated stitchers managed to get the jacket ready in time for the wedding. (the baby is Wendy's little girl)
My DH, DD the elder, and I attended the first wedding - there were two more later in the day, and all were packed.
It was a gorgeous morning and afterwards the whole wedding party posed for photos on the stage.  The crowds were dense by my DH managed to get a good photo.
It was truly gratifying to hear so many people exclaim about the jacket as Pocahontas walked down the aisle. I really enjoyed being able to see people's reaction to the jacket.  I have not had that experience with the Plimoth jacket or the Agecroft coif, so I was happy that my DH made sure we made it to the ceremony.

Historic Jamestowne had quite few souvenirs available decorated with some of the original drawings of the jacket motifs by Tom Hammond.  I couldn't help buy everything but the shotglass.  Missing from this photo is the two other colours of tall mug, the key chain, the tote bag, the long sleeved t-shirt, and the microfiber cloth for glass cleaning.


I am very excited to be working on an article for NeedleArts (the EGA national magazine) so I thought I'd share the most interesting articles and videos about the jacket I've found online.
Making a Wedding Jacket for Pocahontas - video title: A Jacket for Lady Rebecca (Feb. 20, 2014)

Pocahontas and John Rolfe on their wedding day, 400 years since the first one by Dan Zak
(Washington Post April 7, 2014 )

Colonial Williamsburg write up from April 5, 2015 

 Celebrate Pocahontas' 400th wedding anniversary. By Diane Tennant The Virginian-Pilot


Sunday, March 16, 2014

Boxes and jackets

I have been making good progress on my first box.  I have the top done, except for some green purl that will hold down the Jane Austen in Bath enamel - the top of a broken box.


The front of the box is the Hampton cottage where Jane Austen lived. (do you see the theme here?)

I'm working on the sides which will include motifs from a sample Jane Austen stitched. Not sure about the back.

I'm also working on the top for a second box.  It will be a female rider on a horse.  It is for my daughter so the horse is white.  I had some gown issues so I'm redoing the needlelace.  And I will probably need to figure out how to make the white horse stand out from the white linen, but I'll get to that later.  Since the horse top fit on the same frame as the Jane Austen top and front, it may be a while before I get to make up the box.  But that's okay, I'm enjoying the stitching.

I have had reduced personal stitching time lately anyway since I have been popping down to Williamsburg on the weekend for the last month. It has been a so much fun to meet with all the local women and the women who have travelled from afar to embroider on the wedding jacket for Pocahontas. And I have enjoyed my chats with Brenda Rosseau, the Manager of the Costume Design Center of Colonial Williamsburg who has been running this project. She was sure the jacket could get done in time and it looks like she was right. The fronts and upper and lower arms are done, the back and coif are started and moving right along, and the small pieces, gussets and caps, are stitching up quickly.

Here is one of the caps that I stitched on yesterday.

 
Last weekend I did several motifs as well as vine shading and small flower motifs.  My favourite was this boar.

Really, I can't say enough about the amazing job Tom Hammond has done on the designs of the jacket.  Every creature or plant is wonderful and the overall effect is perfect.

Of course, there is still a forehead cloth to start on...

Can't wait to see the finished jacket at the wedding celebration.